Enabling default nameservers
Last Updated: December 01, 2023
You can enable default nameservers in your account settings. This is a very useful service for parking domains or pointing them to a VPS or reseller hosting account.
Enabling default nameservers
- Log into your Name.com account.
-
Click on the User icon (
 ), located at the top right, open the drop down menu and click Settings.
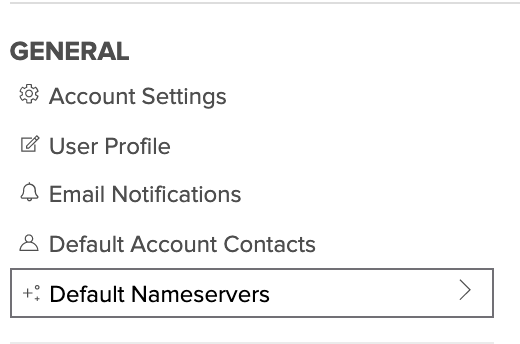
- Click on Default Nameservers on the left hand side, under General.

- Enter the nameservers, one at a time, into the proper field and click the Add Nameserver button.
Note: You should make sure that the nameservers are properly configured. If they are not, it could cause domain registrations to fail.
