GitHib users, did you know that you can set up custom domain names for your project pages? It’s a simple way to share your code with others and can be set up quickly and easily. Follow these steps to create and forward your own domain to your GitHub projects.
How to create a custom domain for GitHib
Get started by registering the domain you’d like to use for your project page at Name.com. Keep in mind that you are not limited to traditional domain names—there are a ton of New Domains out there that could put a unique spin on your domain. Consider extensions like .IO, .TECH, .BUILD, .DOWNLOAD, and more when selecting a domain to forward to your GitHub project page.
Once your domain has been registered, head over to Name Apps, where you can link a series of tools and platforms to your domain name with just a few clicks. Scroll down to find the GitHub app, and press the Get Started Button. Note that you will need to be logged into your Name.com account to continue onto the next step.

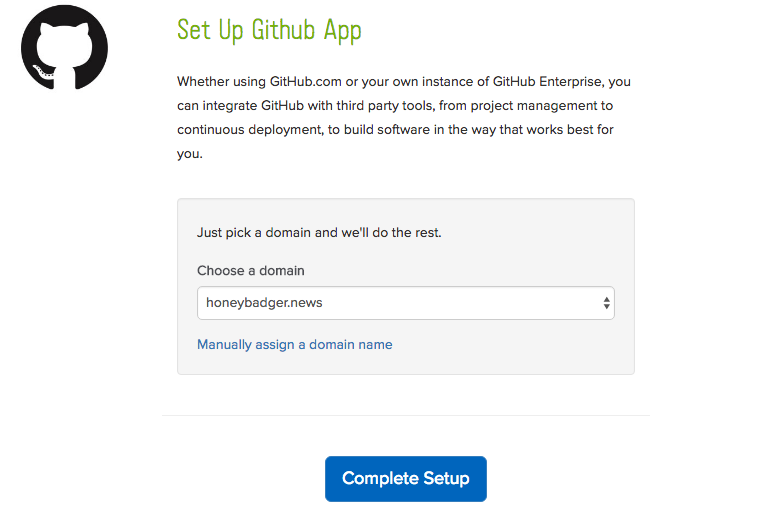
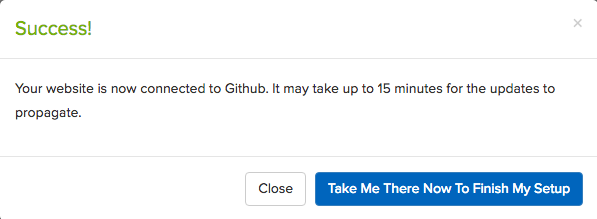
Now, select the domain that you want to use for you GitHub page from the drop down menu, then press Complete Setup. The correct DNS records for GitHub will automatically be added to that domain. You’ll then see a message like this one which you can use to navigate to GitHub and finish the process.

Head to GitHub to complete setup
Once you’re logged into your GitHub account, go to your GitHub Pages repository. Click the Settings button under the repository name you’d like to have the custom domain for. There, use the custom domain to add your URL and press the save button. Keep in mind that it could take up to 15 minutes to complete setup, so have patience if it doesn’t work right away,
A custom domain for a GitHub project page is a great way to make your code more accessible and professional looking. And with a setup process as easy as this one, there’s no reason not to use a custom domain for your own projects.

