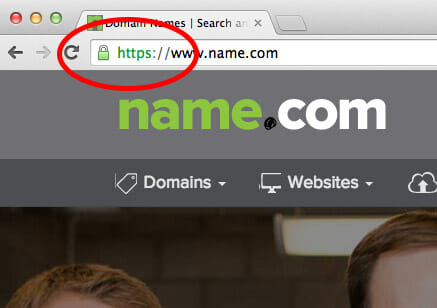
Think about your last online purchase: Did you just assume that it was safe to enter your credit card information or did you check for that little green padlock in the address bar? That padlock sign (or occasionally just a green address bar) indicates the presence of an SSL certificate, a security measure that ensures that sensitive information entered on that webpage will be safely encrypted.

SSL, or Secure Socket Layer, is the protocol that creates these secure connections for web users. It prevents private information from being compromised by eavesdropping, data tampering, or message forgery. It also gives consumers peace of mind as they fill out forms that contain sensitive information.
Millions of businesses use SSL certificates to assure visitors of their website’s security and legitimacy. If you think that your website could benefit from a SSL certificate, you can easily set it up through Name.com.
Setting up a SSL certificate on Name.com
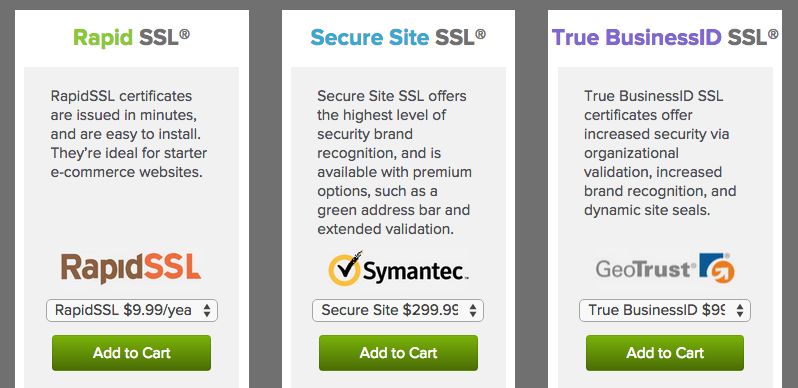
Start by heading over the Name.com and selecting SSL certificates under the Hosting & SSL menu. Here, you’ll see three different options for SSL certificates. If you aren’t sure which one to choose, read through the benefits of each to see which matches your website’s needs best.
When you’ve made your choice, add it to your cart and follow the prompts to complete your purchase.
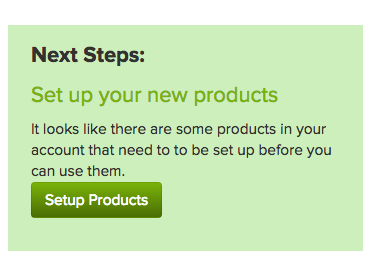
Once your order is complete, you’ll see a nifty little message like this on the thank you page, which will take you to the next step.

You’ll be redirected to the Product Management page (Which can also be accessed by selecting My Products under the My Account tab) where you can begin setting up your SSL certificate. Click Setup Now to begin.

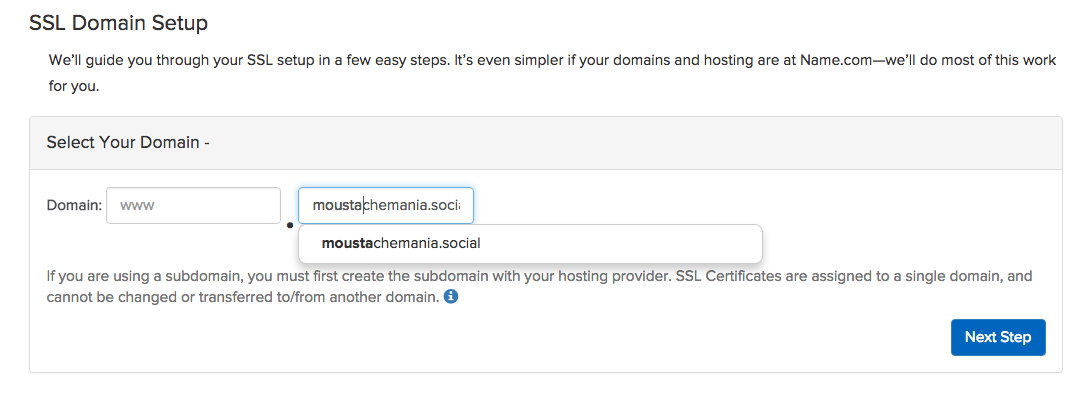
The setup page will guide you through the process of getting your SSL certificate working.
Choose the website you want to secure by typing it into the domain section. Type “www” into the section before the dot to secure your main site. If you want to secure a subdomain instead, make sure you enter that specific URL. When you’re finished, press Next Step.

Your contact information will auto populate in the form, but make sure it’s still accurate before moving on. This is where the setup process will deviate depending on your hosting choices.
If you host through Name.com…
The required Certificate Signing Request (CSR) will be automatically generated—instead, you’ll be given the DNS records that must be added to your domain for the SSL certificate to work. Once they’ve been added, try to validate your domain. If that doesn’t work, you can attempt email validation instead. The SSL certificate will automatically install when the domain has been successfully validated.
If you host through someone else…
Well, that’s a little more complicated. You will need to go to your hosting provider and have them generate a Certificate Signing Request (CSR). When you have it, copy and paste the code into the Certificate Signing Request section, including the –BEGIN CERTIFICATE– and –END CERTIFICATE– text. Then, click Next Step to begin validating your domain. On the next page, make sure the Email Validation option is selected. The email will go to whoever is listed as your Technical Contact, so make sure the information is current and that you have access to the listed email address. When you click the link in the email, your CRT will be sent to that same address.
You’ll need to work with your hosting provider to get the SSL certificate installed on their servers. You can get instructions for installing the certificate with your particular provider here.

