If you’re a web developer with a number of clients, it’s not always easy to give them access to certain parts of their website while still having the ability to make necessary updates yourself. Name.com allows users to create sub accounts as an easy solution to this issue.
How to set up a sub-account
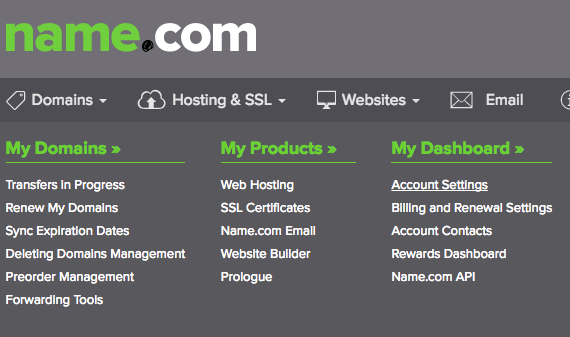
Start by logging into your Name.com account before clicking the My Account menu. Choose Account settings from the drop-down navigation.

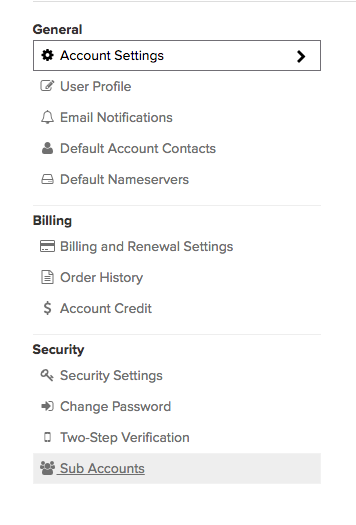
Look through the options on the left-hand sidebar until you find the Security section, then click on the Sub Accounts link.

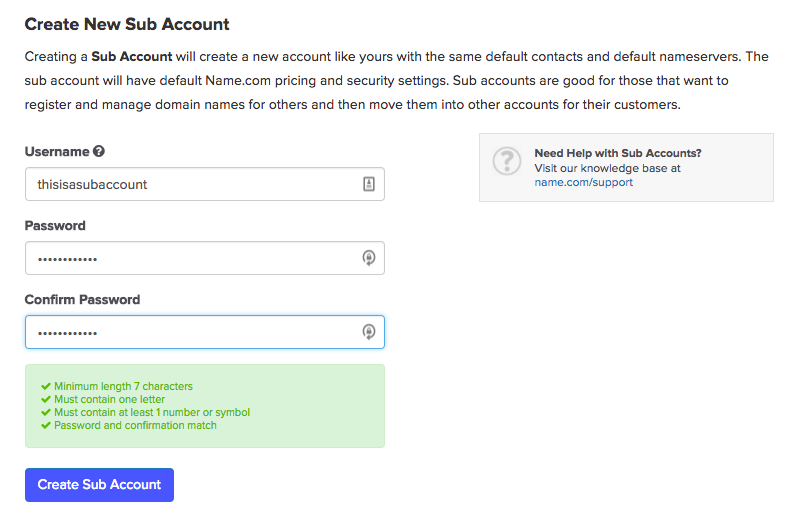
Here, you can manage your existing subaccounts or create a new one. You’ll be able to choose a unique username and password for your client during this setup process.

Once the sub account has been created, it will show up at the top of the screen whenever you access the Sub Account page.

A sub account will keep the same contact details and nameservers as your primary account, so you can rest assured that you’ll continue to have control over essential aspects of managing your clients’ domains while still giving them the freedom to log into their own account.
Log into your Name.com account now to set up a new sub account.

